Once you’ve come across an SSH key, they are sometimes encrypted and require a password to be passed along with it before you’re able to successfully use it for authentication. When this occurs, we can leverage John to extract the hash used to encrypt this key and attempt to crack it offline.
First, we’ll start by extracting the hash using SSHng2John. python sshng2john.py ssh.key
Then we can rerun the above command, but redirect to a file. python sshng2john.py /root/ssh.key > hash.ssh
And finally, we can pass it to John for cracking against a dictionary file. john --wordlist=/opt/wordlists/rockyou.txt hash.ssh
On an engagement, you may come across VHD files that are not stored properly. This could be open on an exposed NFS or SMB share, or it could even be from a backup file that you exfiltrated. No matter how you come in contact with these files, there are many ways to go through them to extract critical information.
Using 7-Zip, you can view the contents of a VHD file.
7z l file.vhd
To extract the contents, you can also use 7-zip.
7z x file.vhd
Mounting a VHD on Linux
To mount a VHD on Linux, you can use Guest Mount.
sudo apt install libguestfs-tools -y
Now we’ll start by creating a directory that we’ll mount the VHD file to.
sudo mkdir /mnt/vhd
And then we’ll use guestmount to mount the directory in read-only (ro) mode.
This could take a few minutes to mount depending on the size. But eventually it will finish and you should be able to view the contents.
cd /mnt/vhd
ls -la
To list the files of select directories, you can use find.
find Desktop Documents Downloads -ls
Extracting Local SAM Database from VHD Files
First, follow the above steps to mount the VHD file. Once mounted, you may be able to grab the files that make up the SAM database so you can crack it offline.
cd /Windows/System32/config cp SAM SYSTEM /<localDir>
Note: You may also want to grab nts.dit if you’re on a domain controller so you can crack all of the AD hashes.
Now you can go to the local directory that you copied those files into and use secretsdump to extract the hashes.
impacket-secretsdump -sam SAM -system SYSTEM local
Instead of taking the hash offline to try and crack it, you can see if you have write access using this hash to any SMB share by using SMBmap.
Before you start a Password Spraying or Brute Force attack, you always want to check what the password policy is first so you don’t start locking accounts out. This post intends to serve as a guide that lists a handful of ways to enumerate this.
Using CrackMapExec:
crackmapexec smb <targetIP> --pass-pol
If that doesn’t work, you can attempt again with a null authentication attempt by using the following. This typically works when a domain has been upgraded from 2003:
When on an engagement, it is common to need a custom wordlists for either Password Spraying, or Password Cracking when you have captured some hashes. This post intends to serve as a quick guide for leveraging Hashcat rules to help you build effective custom wordlists.
To start, let’s begin with setting the scenario up. In our fictional scenario, we’ll be targeting an Active Directory domain named NBA.local. Let’s begin by creating a handful of words that would be likely for this domain. We’re only going to start with a few words, as our list is going to grow exponentially when we start applying rules to them. In a real engagement, you may want to gather 10-20 words to use.
Here’s the list I started with.
We should also append the current year to the words. There are dozens of ways to do this, but a simple method is to use a for loop. for i in $(cat list1.txt);do echo $i;echo ${i}2020;echo ${i}2021;done > t
Now we’ll take this list, and feed it through Hashcat’s Best64 rule. hashcat --force <wordlist> -r /usr/share/hashcat/rules/best64.rule --stdout > hashcat_words.txt
You can see from the screenshot that we turned our list that previously contained 4 words into a list that now contains 308 words! But if you look through the list, you’ll see it doesn’t contain any symbols. To fix this, we can create our own custom rule called append_exclamation.rule that contains the following:
:
$!
Now we can run hashcat again, but this time we’ll specify both rules instead of just the one. Just keep in mind that you may get duplicates, so you may want to also add the sort -u command.
This time when we check the number of words in the list, we see exactly double what we had before! This is because the list has the same 308 words as last time, but now also has them all with an exclamation added.
One of my favorite commands for creating wordlists: hashcat --force list.txt -r /usr/share/hashcat/rules/best64.rule -r /usr/share/hashcat/rules/toggles5.rule -r /usr/share/hashcat/rules/append_atsign.rule -r /usr/share/hashcat/rules/append_exclamation.rule --stdout | sort -u > list-uniq.txt
Hashcat Masking Attack
Some of my favorite masking attack commands to run:
hashcat -m 1000 -a 3 hashes\users.txt ?u?l?l?l?s?d?d?d?d
hashcat -m 1000 -a 3 hashes\users.txt ?u?l?l?l?l?s?d?d?d?d
hashcat -m 1000 -a 3 hashes\users.txt ?u?l?l?l?l?s?d?d
hashcat -m 1000 -a 3 hashes\users.txt ?u?l?l?l?s?d?d?d
hashcat -m 1000 -a 3 hashes\users.txt -1 ?u?l ?1?1?1?s?d?d?d?d
hashcat -m 1000 -a 3 hashes\users.txt -1 ?u?l ?1?1?1?1?s?d?d?d?d

hashcat -m 1000 -a 3 hashes\users.txt ?u?l?l?l?l?d?d?d?d
hashcat -m 1000 -a 3 hashes\users.txt ?u?l?l?l?l?l?d?d?d
hashcat -m 1000 -a 3 hashes\users.txt ?u?l?l?l?d?d?d?d
hashcat -m 1000 -a 3 hashes\users.txt ?u?l?l?l?l?d?d?d
hashcat -m 1000 -a 3 hashes\users.txt ?u?l?l?l?l?l?d?d
hashcat -m 1000 -a 3 hashes\users.txt ?u?l?l?l?l?l?l?d
hashcat -m 1000 -a 3 -1 ?u?l hashes\users.txt ?1?1?1?1?1?1?d?s
hashcat -m 1000 -a 3 -1 ?u?l hashes\users.txt ?1?1?1?l?d?d?d?d
hashcat -m 1000 -a 3 -1 ?u?l hashes\users.txt ?1?1?1?d?d?d?d?s
hashcat -m 1000 -a 3 -1 ?u?l hashes\users.txt ?1?1?1?d?d?d?d?s
hashcat -m 1000 -a 3 -1 ?u?l hashes\users.txt ?1?1?1?l?d?d?d?d?s
hashcat -m 1000 -a 3 -1 ?u?l hashes\users.txt ?1?1?1?l?d?d?s?s
hashcat -m 1000 -a 3 -1 ?u?l hashes\users.txt ?1?1?1?1?d?d?d?s
Some user accounts may be configured with ‘Do not require Kerberos preauthentication‘ set. For accounts that are configured in this way, we may not need valid user credentials to extract TGTs for cracking. The following tool from Impacket can help with this.
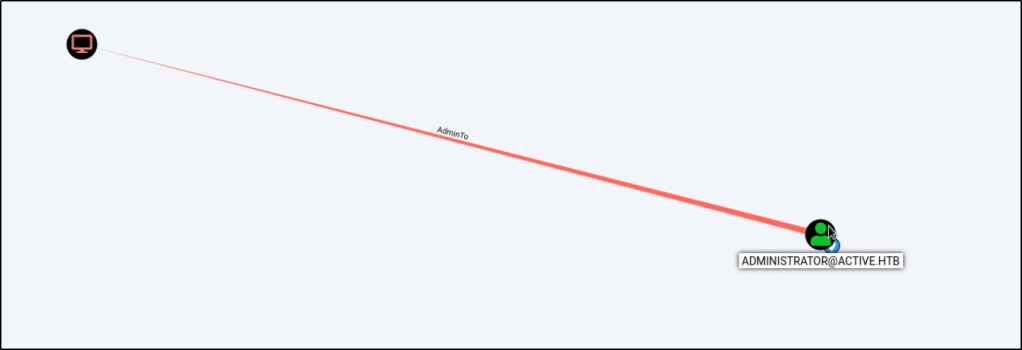
Once you have low-level credentials to a Windows domain, you may be able to leverage those credentials to perform a Kerberoast attack against a higher-level user account. The easiest way to identify if a user account is vulnerable to a Kerberoast attack is via BloodHound.
Once you have identified a Kerberoastable user, you can leverage Impacket to perform the attack w/ the following command. This command will require valid domain credentials for at least a low-level user, but it should return the password hash of any Kerberoastable user on the domain.
There are some great posts out there that already explain what this vulnerability is. I would suggest reading up on it over at https://adsecurity.org/?p=2288.
However, if you come across an old GPP XML file, you may be able to extract a password hash from it. The file is typically found at path similar to the one shown below.
In my first guide in this series, I showed you how to capture NTLMv2 hashes by utilizing a tool called Responder.py. You can find that here.
In this guide, I will show you how to crack those hashes using a tool called Hashcat. Hashcat works best when you run it locally on your host machine, meaning not within a Virtual Machine. For that reason, I will show you how to set things up in Windows.
As we covered previously in Part One, I was able to capture the Net-NTLMv2 hashes for multiple users in the domain.
Once captured, the hashes will be stored inside the Responder/logs directory. You can use the following commands to extract unique hashes and store them into a file named ntlm-hashes.txt.
Let’s take these hashes and store them into a text file titled hashes.txt. Since I’m going to crack these hashes from my local machine (running Windows), I’ll create the text file there.
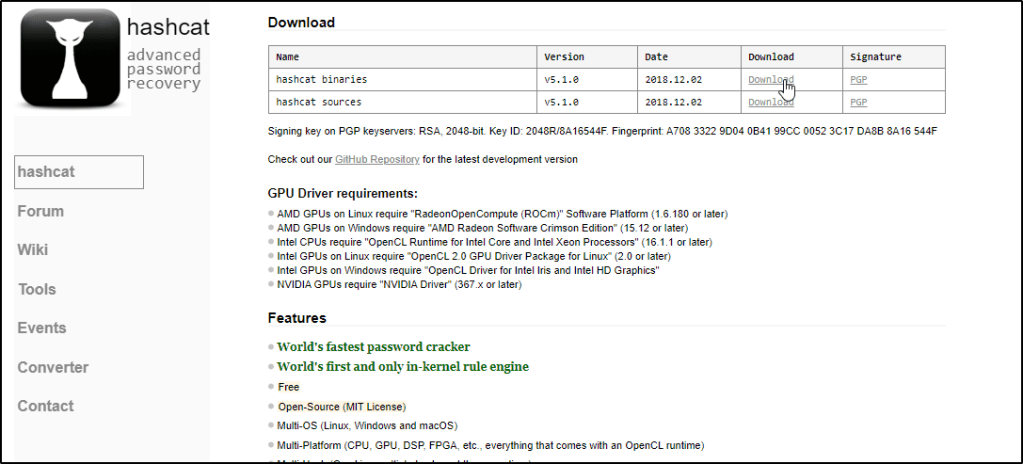
With hashes in hand, let’s go out and grab the tool we need to crack them!
Navigate to your downloads and Extract the contents of the file. Note: You will need 7-Zip installed.
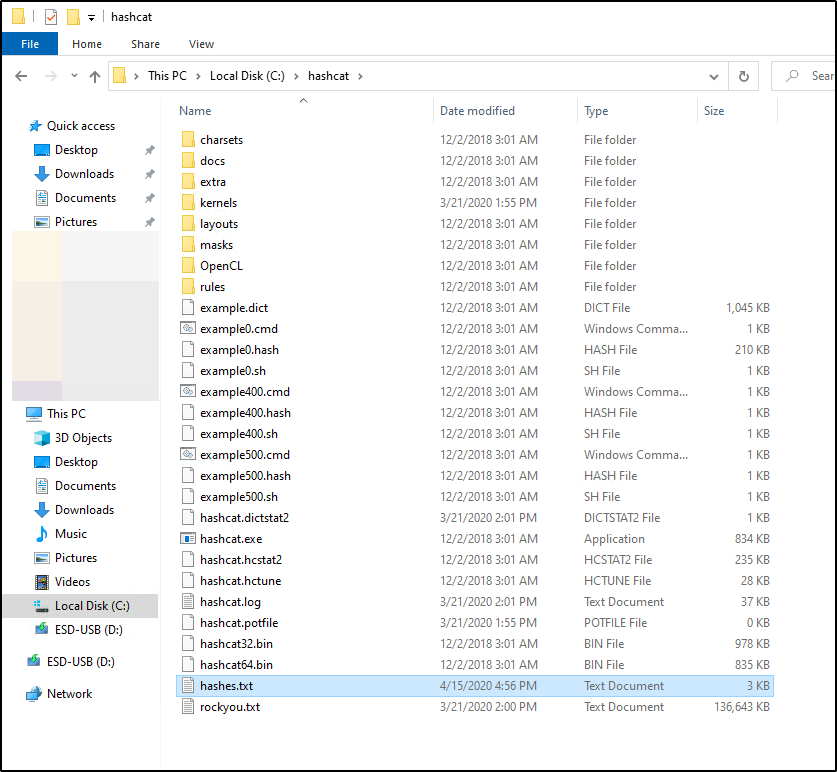
I like to Cut and Paste this extracted folder to my C:\ drive & then Rename it to make it easier to access.
I also like to rename the hashcat64.exe file to just hashcat.exe so I don’t have to remember to specify 64, but this is totally up to you.
You’ll want to make sure you have a Wordlist available on your filesystem. You don’t have to store it within the Hashcat folder, but doing so will make your command a bit easier when we’re ready to run the tool.
I transferred rockyou.txt from my Kali box and pasted that into the c:\hashcat\ folder
Let’s also make sure our captured hashes.txt are in this location.
If you’ve never used Hashcat before, I’d highly recommend checking out their website or reading up on the help output.
For our use case, this is the command that we’re going to run.
hashcat.exe -a 0 -m 5600 hashes.txt rockyou.txt -o cracked.txt -O
So what does this do? Let’s break it down.
-a is for the attack type. 0 is used to specify we’re performing a dictionary attack.
-m is used to specify what type of hashes we’re looking to crack. Hashcat supports cracking dozens of different hash-types, so you’ll typically want to refer to their help documentation to know exactly which number to use. In our case, NTLMv2 hashes are represented by 5600
hashes.txt is a positional parameter. Hashcat expects you to place the name of the file containing your hashes first, which is what we’re doing here.
rockyou.txt is another positional parameter. Hashcat expects the name of the file that you wish to use for your dictionary attack.
-o is used to specify an output file. This is where we’d like the cracked passwords to be stored. If you don’t specify this flag, cracked passwords will be stored in a file called hashcat.potfile, which can be found in the hashcat directory.
-O is used to optimize the attack for the hardware running in our system. You may not need to use this.
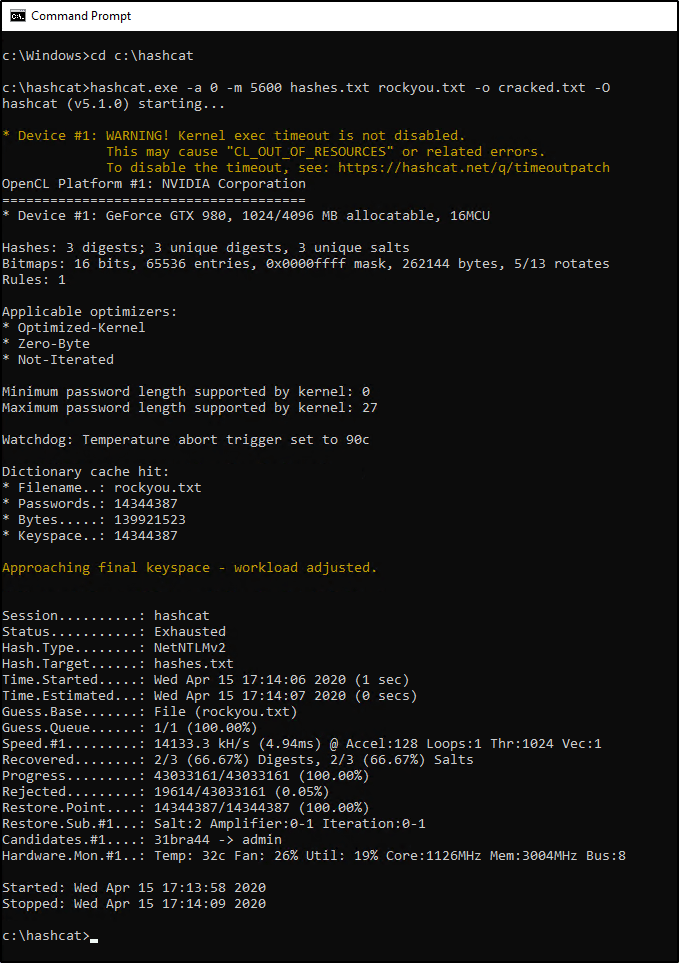
Now that we understand the command, let’s change into our hashcat directory and see if we can crack our hashes! Open up a Command Prompt window and enter the following commands:
cd c:\hashcat
hashcat.exe -a 0 -m 5600 hashes.txt rockyou.txt -o cracked.txt -O
Depending on your system, it may take a few minutes for the wordlist to be exhausted. Eventually, you should be able to view the results and see how many (if any) hashes were “Recovered”. In my case, we were able to recover two out of the three passwords.
Let’s view the contents of our output file.
type cracked.txt
The results show us two users part of the NBA domain, along with their associated credentials.
So what about that third password? Well we could continue to try a dictionary attack w/ other wordlists, but if the password is short, we should be able to brute-force it fairly quick. Let’s give this a shot by revisiting the command we used before, but make a couple slight changes.
Did you notice what’s different? We changed -a to 3 instead of 0. This specifies that we’re looking to brute-force the password instead of perform a dictionary attack.
We also dropped the rockyou.txt wordlist since we no longer need it and replaced it with -1 ?l?d?u ?1?1?1?1?1?1?1. Why did we do this? I’d highly recommend reviewing Hashcat’s documentation on mask attacks, but let’s try to understand this by breaking it into two parts.
Explaining -1 ?l?d?u -1 is used to define a custom character-set with a value of ?1. Within ?1, we’re storing the following:
?l is used to specify all lowercase letters in the alphabet.
?d is used to specify all number digits.
?u is used to specify all uppercase letters in the alphabet.
Explaining ?1?1?1?1?1?1?1 Now that ?1 is defined, we’re going to specify it seven times to indicate that we’re looking to crack a seven character password that could contain a lowercase/uppercase/number in any/all positions.
Okay, let’s run the command now and see what happens.
Eventually we’ll crack this password and be able to view it within our cracked.txt file as well.
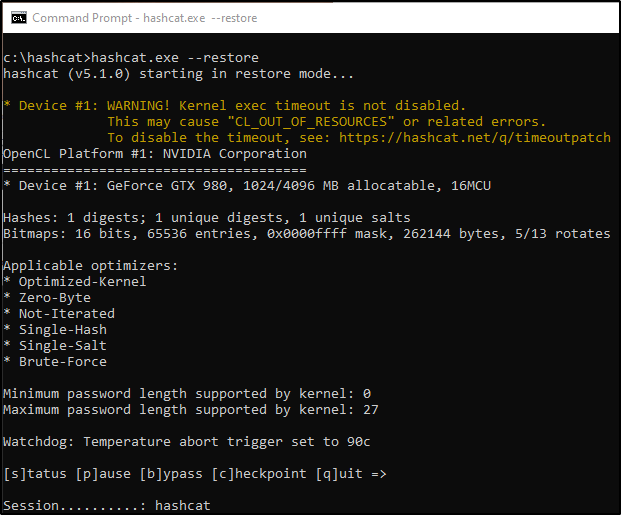
Restoring a Hashcat Session
Since brute-force jobs can take a long time to process, it’s important to know about the --restore option. By default, Hashcat will store your job in a session that you can call on later. You can resume your interrupted session by running the following command:
hashcat.exe --restore
There’s a ton more information about Hashcat checkpoints in a blog post found over at https://miloserdov.org/?p=2089, but the above command may be the most useful if you’re just looking to recover from an unexpected closed session.
That’s it for this one! By now, you should know how to capture and crack weak credentials by simply having access to an Active Directory environment. But what happens when we’re unable to crack these passwords? Stay tuned for Part 3 to discuss NLTMv2-Relay attacks!
Thanks for checking out another quick hacking tutorial! This one is super simple, but helpful to know in case you come across a password protected ZIP archive that you need access to.
To start, I created a couple text files on my Windows machine and stored them into an encrypted ZIP archive using 7-zip.
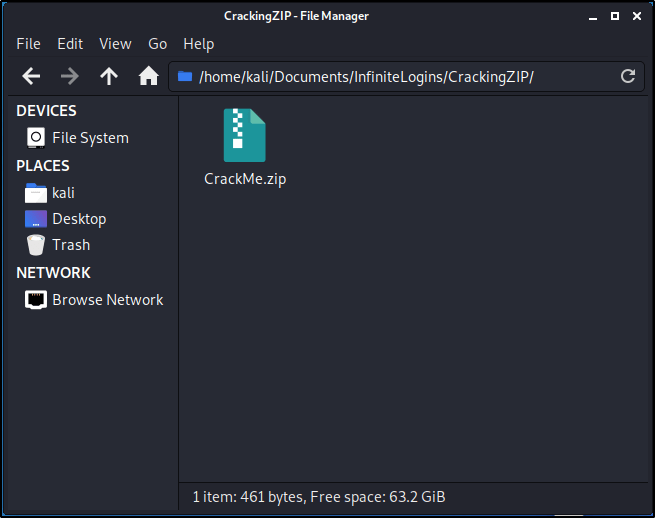
Let’s transfer over the CrackMe.zip file to our Kali machine.
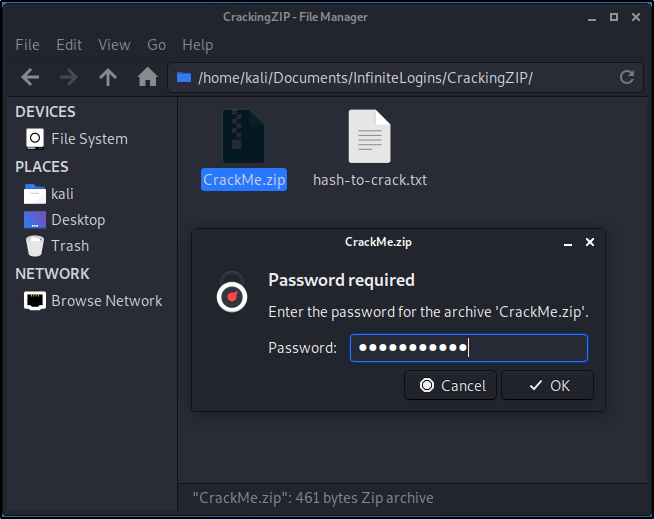
Once the CrackMe.zip file is present on the filesystem, go ahead and Right-Click and select Extract Here.
You’ll get a prompt stating that there is a Password Required.
In order for us to crack this password, we need to first extract its hash. Luckily, John The Ripper has everything we need built-in. Let’s spin up a Terminal window and get started. Start by making sure you’re in the correct directory that contains the ZIP file.
Run the following command to decrypt any hashes that are contained within the archive. This will create a new text document titled hash-to-crack.txt
sudo zip2john CrackMe.zip > hash-to-crack.txt
We can verify the contents of the file by utilizing cat.
cat hash-to-crack.txt
Great! Now that we have a hash contained in the text document, let’s try our hand at cracking it. First, we’ll need a wordlist. I always like to utilize the rockyou.txt wordlist built into Kali first. This list can be found at /usr/share/wordlists/rockyou.txt. If you haven’t first unzipped this list, you’ll want to do that before proceeding. Check out this guide for help with that.
With wordlist in hand, let’s run the following command to start our brute-force.
sudo john hash-to-crack.txt --wordlist=/usr/share/wordlists/rockyou.txt
If you receive an error, you may need to specify the format the hash is in.
sudo john --format=zip hash-to-crack.txt --wordlist=/usr/share/wordlists/rockyou.txt
Based on the result above, we see that our password is password123! Let’s attempt to extract the archive again, and enter that password to make sure it works.
Doing so creates a new folder titled CrackMe. Let’s go ahead and expand the contents of this and see what we can find!
That’s it! Super quick and easy to crack this if you have a weak password. As you’ve heard 1000 times, strong passwords are essential for keeping your data secure, and this is just one example that proves that.