Other Parts in Series:
- Part One: Capture Net-NTLM Hashes.
- Part Two: Crack Net-NTLM Hashes.
- Part Three: Relay Net-NTLM Hashes.
In my first guide in this series, I showed you how to capture NTLMv2 hashes by utilizing a tool called Responder.py. You can find that here.
In this guide, I will show you how to crack those hashes using a tool called Hashcat. Hashcat works best when you run it locally on your host machine, meaning not within a Virtual Machine. For that reason, I will show you how to set things up in Windows.
Table of Contents:
- Capturing the NTLMv2 Hashes
- Preparing Hashcat in Windows
- Cracking NTLMv2 Hashes w/ Hashcat: Dictionary Attack
- Cracking NTLMv2 Hashes w/ Hashcat: Brute-Force (Mask) Attack
- Restoring a Hashcat Session
Capturing the NTLMv2 Hashes
As we covered previously in Part One, I was able to capture the Net-NTLMv2 hashes for multiple users in the domain.

Once captured, the hashes will be stored inside the Responder/logs directory. You can use the following commands to extract unique hashes and store them into a file named ntlm-hashes.txt.
for user in `strings Responder-Session.log | grep "NTLMv2-SSP Hash" | cut -d ":" -f 4-6 | sort -u -f | awk '{$1=$1};1'`
do
echo "[*] search for: $user";
strings Responder-Session.log | grep "NTLMv2-SSP Hash" | grep -i $user | cut -d ":" -f 4-10 | head -n 1 | awk '{$1=$1};1' >> ntlm-hashes.txt
done
Let’s take these hashes and store them into a text file titled hashes.txt. Since I’m going to crack these hashes from my local machine (running Windows), I’ll create the text file there.

With hashes in hand, let’s go out and grab the tool we need to crack them!
Preparing Hashcat in Windows
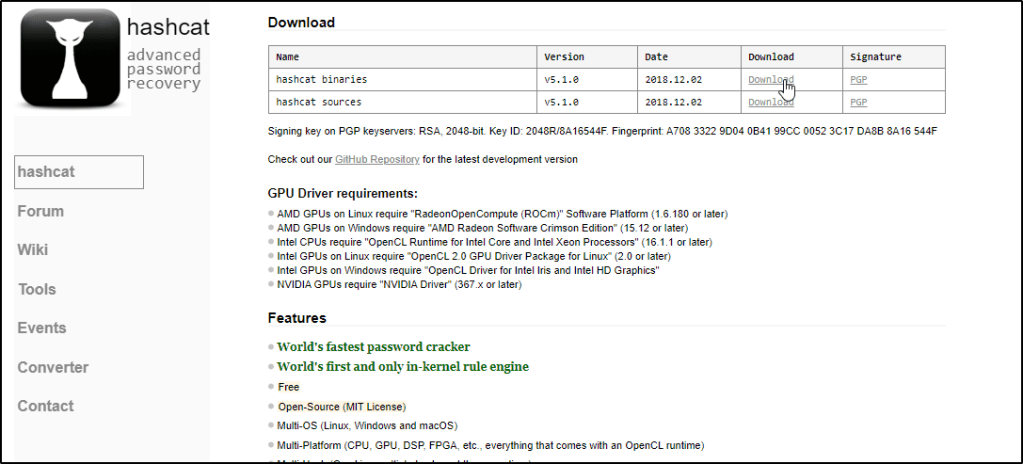
Open up Google and search for Hashcat Windows. You should be taken to https://hashcat.net/hashcat/

Locate the latest Binary and click on Download.
Navigate to your downloads and Extract the contents of the file.
Note: You will need 7-Zip installed.

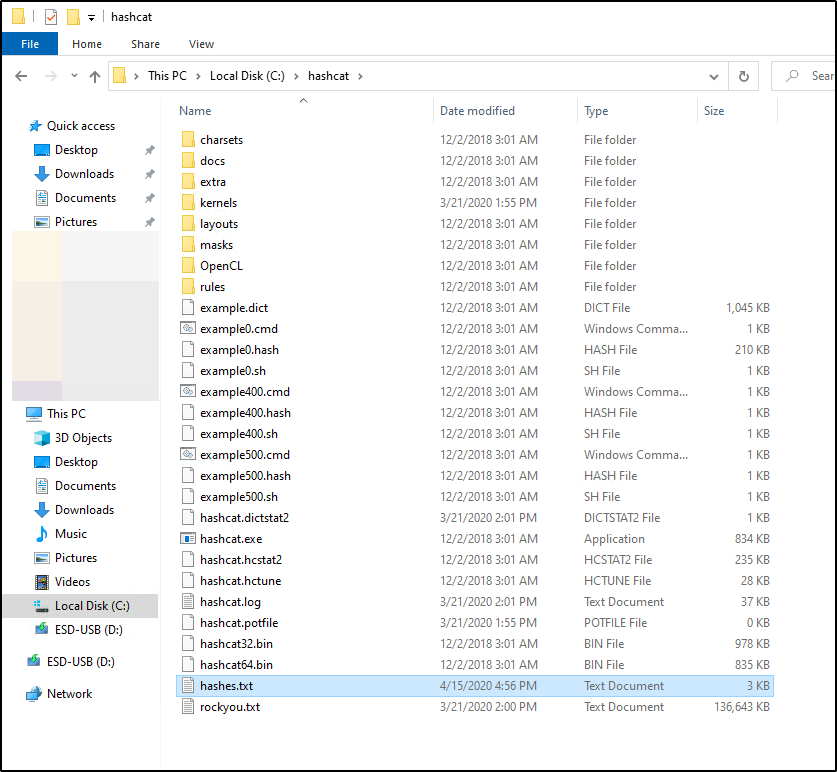
I like to Cut and Paste this extracted folder to my C:\ drive & then Rename it to make it easier to access.

I also like to rename the hashcat64.exe file to just hashcat.exe so I don’t have to remember to specify 64, but this is totally up to you.

You’ll want to make sure you have a Wordlist available on your filesystem. You don’t have to store it within the Hashcat folder, but doing so will make your command a bit easier when we’re ready to run the tool.
I transferred rockyou.txt from my Kali box and pasted that into the c:\hashcat\ folder

Let’s also make sure our captured hashes.txt are in this location.
Cracking NTLMv2 Hashes w/ Hashcat: Dictionary Attack
If you’ve never used Hashcat before, I’d highly recommend checking out their website or reading up on the help output.
For our use case, this is the command that we’re going to run.
hashcat.exe -a 0 -m 5600 hashes.txt rockyou.txt -o cracked.txt -O
So what does this do? Let’s break it down.
-ais for the attack type.0is used to specify we’re performing a dictionary attack.-mis used to specify what type of hashes we’re looking to crack. Hashcat supports cracking dozens of different hash-types, so you’ll typically want to refer to their help documentation to know exactly which number to use. In our case, NTLMv2 hashes are represented by5600hashes.txtis a positional parameter. Hashcat expects you to place the name of the file containing your hashes first, which is what we’re doing here.rockyou.txtis another positional parameter. Hashcat expects the name of the file that you wish to use for your dictionary attack.-ois used to specify an output file. This is where we’d like the cracked passwords to be stored. If you don’t specify this flag, cracked passwords will be stored in a file called hashcat.potfile, which can be found in the hashcat directory.-Ois used to optimize the attack for the hardware running in our system. You may not need to use this.
Now that we understand the command, let’s change into our hashcat directory and see if we can crack our hashes! Open up a Command Prompt window and enter the following commands:
cd c:\hashcat
hashcat.exe -a 0 -m 5600 hashes.txt rockyou.txt -o cracked.txt -O
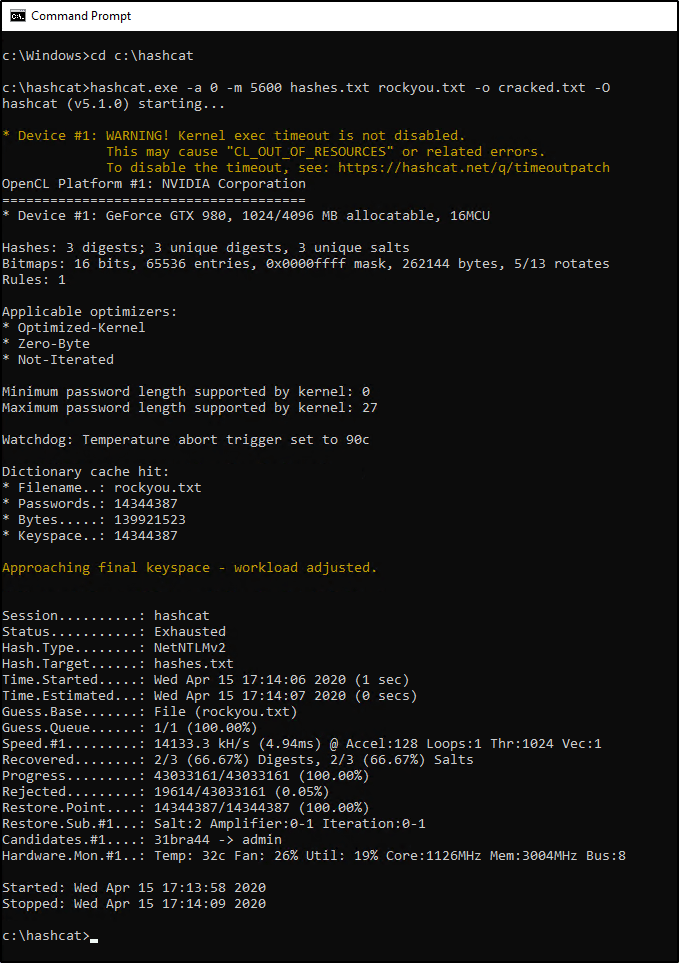
Depending on your system, it may take a few minutes for the wordlist to be exhausted. Eventually, you should be able to view the results and see how many (if any) hashes were “Recovered”. In my case, we were able to recover two out of the three passwords.
Let’s view the contents of our output file.
type cracked.txt

The results show us two users part of the NBA domain, along with their associated credentials.
nba\kIrving:Password123
nba\lJames:P@55w0rd
Cracking NTLMv2 Hashes w/ Hashcat: Brute-Force (Mask) Attack
So what about that third password? Well we could continue to try a dictionary attack w/ other wordlists, but if the password is short, we should be able to brute-force it fairly quick. Let’s give this a shot by revisiting the command we used before, but make a couple slight changes.
hashcat.exe -a 3 -m 5600 hashes.txt -1 ?l?d?u ?1?1?1?1?1?1?1 -o cracked.txt -O
Did you notice what’s different? We changed -a to 3 instead of 0. This specifies that we’re looking to brute-force the password instead of perform a dictionary attack.
We also dropped the rockyou.txt wordlist since we no longer need it and replaced it with -1 ?l?d?u ?1?1?1?1?1?1?1. Why did we do this? I’d highly recommend reviewing Hashcat’s documentation on mask attacks, but let’s try to understand this by breaking it into two parts.
Explaining -1 ?l?d?u
-1 is used to define a custom character-set with a value of ?1. Within ?1, we’re storing the following:
?lis used to specify all lowercase letters in the alphabet.?dis used to specify all number digits.?uis used to specify all uppercase letters in the alphabet.
Explaining ?1?1?1?1?1?1?1
Now that ?1 is defined, we’re going to specify it seven times to indicate that we’re looking to crack a seven character password that could contain a lowercase/uppercase/number in any/all positions.
Okay, let’s run the command now and see what happens.

Eventually we’ll crack this password and be able to view it within our cracked.txt file as well.
Restoring a Hashcat Session
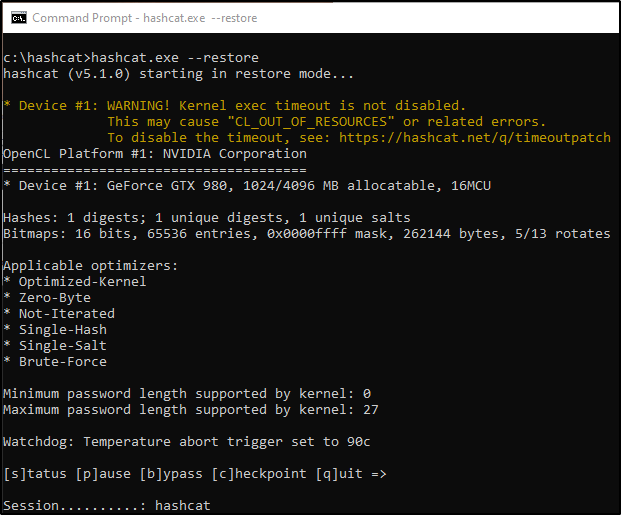
Since brute-force jobs can take a long time to process, it’s important to know about the --restore option. By default, Hashcat will store your job in a session that you can call on later. You can resume your interrupted session by running the following command:
hashcat.exe --restore
There’s a ton more information about Hashcat checkpoints in a blog post found over at https://miloserdov.org/?p=2089, but the above command may be the most useful if you’re just looking to recover from an unexpected closed session.
That’s it for this one! By now, you should know how to capture and crack weak credentials by simply having access to an Active Directory environment. But what happens when we’re unable to crack these passwords? Stay tuned for Part 3 to discuss NLTMv2-Relay attacks!
